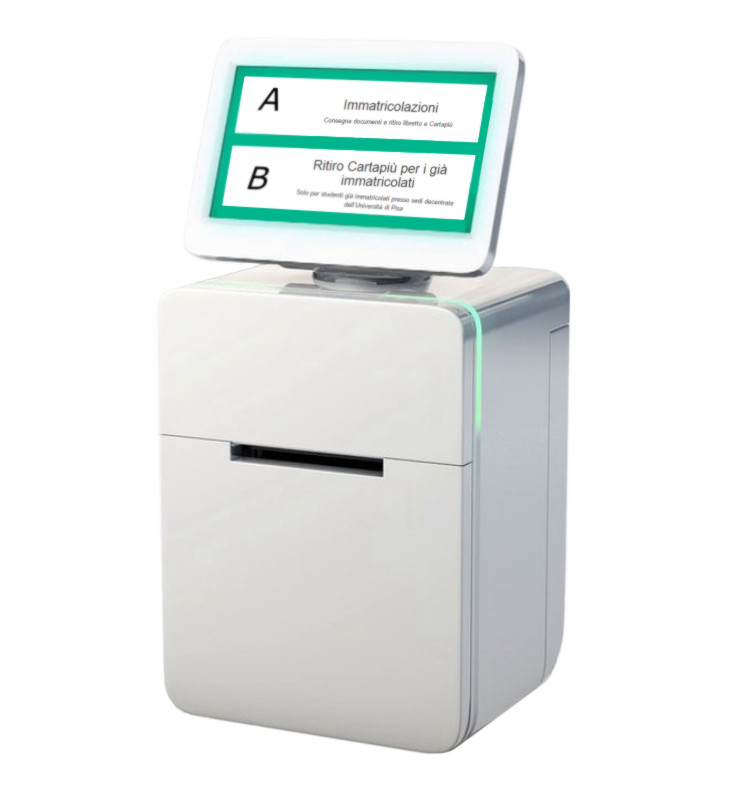
Option 1 - Asura kiosk - around 1200€
Any technician or any skilled user can do this in two hours
QatHome is compatible and tested with:
- Asura CPRNT 80mm auto-cut thermal printer with touch screen
- Contact us if you want to use another printer that has its own browser with javascript printing capabilities)
How to setup the Asura CPRNT thermal printer:
- Connect to wifi or to ethernet (make sure you have access to QatHome website)
- Set Asura Browser as default boot application
- Set your printer url (from your QatHome account settings) as browser home page
- A 24-hour test is recommended
Option 2 - Android kiosk - around 130€
(Recommended)
Any technician or any skilled user can do this in two hours
BUY THE PRINTER
QatHome is compatible and tested with:
BUY THE TABLET
QatHome is compatible and tested with:
BUY THE TABLET STAND
Depending on how you plan to install the kiosk, having a robust stand can be a good idea - buy it from ebay
SET UP YOUR ANDROID TABLET
QatHome is compatible and tested with:
- Excelvan HOP-E801 Bluetooth 80mm auto-cut thermal printer (recommended) - buy it from ebay
- Zebra zd410
- POS 8350 Bluetooth 80mm auto-cut thermal printer
- Contact us if you want to use another printer with serial/ethernet/bluetooth interface
BUY THE TABLET
QatHome is compatible and tested with:
- Mediacom Smartpad Go 7.0
- Mediacom M-SP7DY
- Any tablet with Android 4.4 and newer
BUY THE TABLET STAND
Depending on how you plan to install the kiosk, having a robust stand can be a good idea - buy it from ebay
SET UP YOUR ANDROID TABLET
- Connect to wifi and switch on bluetooth
- Do not link a google account when switching on the tablet for the first time
- Disable auto-updates from play store settings (IMPORTANT)
- It is recommended to uninstall or disable useless apps. If this step is followed, then it is important NOT to disable 'google play' and 'google service framework' if present
- Set display back-light never to sleep
- Set touch screen never to lock
- Download and install QatHome Printer app (for Excelvan HOP-E801 or for POS-8350)
- Open QatHome Printer app, touch the screen to set 1) the bluetooth MAC address of your printer and 2) your printer url from your QatHome account settings
- and install Autostart and StaY and set it to autorun QatHome Printer app
- In Autostart and StaY options for QatHome Printer, check autostart and choose zero second delay after Wifi is connected (IMPORTANT)
- In Autostart and StaY options for QatHome Printer, check stay option (Ensures an app is always running; foreground or background)
- In Autostart and StaY options for QatHome Printer, check persistent option (Makes an app always stay in the foreground)
- In Autostart and StaY options for QatHome Printer, go back to return to autostart and staY main menu
- In Autostart and StaY global options, check start service on boot
- In Autostart and StaY global options, set control interval to 15 seconds (setting a short interval will make it hard for you to change settings)
- Your are almost done! Now your tablet has become a QatHome kiosk!
- Reboot and test kiosk behaviour
- A 24-hour test (or a longer test) is highly recommended
- Keep usb charging cable connected to prevent battery from discharging
- If possible we suggest to cover the home button so that users can't press it. For example by using some black tape
I set up a kiosk with 130€ and my patients love it.
General practitioner, Bari, Italy Tiziano Dalfino

QatHome is very easy to use for me and for our patients, young and old.
Welcome desk employee, general practitioner, Pisa, Italy Chiara Marchetti